Let’s get spooky with these fun and totally delicious chocolate chip Halloween Cookies featuring festive spiders, sprinkles, and candy eyeballs galore!

When Halloween rolls around, it’s time for the spookiest of snacks. Whether you’re making them for a party or celebration, or simply wowing your family with a tasty treat, these cookies are sure to be a hit!
If you follow me on Instagram you’re probably well aware of my Halloween obsession. I straight up squeal the second Halloween decor hits the stores and typically have the entire inside of my house decorated by mid September.
These haunted halloween cookies were a massive hit with my friends and family. I’m pretty sure they’ll be part of our halloween tradition for years to come!
Turn them into a fun activity for friends and family and let everyone join in on the decorating!

I’ve included my go-to chocolate chip cookie recipe in the printable recipe card below but you’re welcome to use any chocolate chip cookies as the base!
For a speedy shortcut, you can use my decorating technique on store bought cookies from the grocery store bakery or opt to bake your cookies from premade cookie dough.
My Brown Butter Chocolate Chip Cookies and Chocolate Chunk Cookies work marvelously as the base for these baller boo-tastic cookies.

what you’ll need to decorate these spooky spider cookies
- Colorful Halloween Sprinkle Mix
- Chocolate Jimmies-style Sprinkles
- Chocolate Melting Wafers
- Candy Eyeballs
You should be able to find all of the above at the grocery store this time of year and many craft stores will have them too!
For the Halloween sprinkles I like to use nonpareil. We love the texture and they look oh so cute on both the dipped cookies and on the spiders.

Chocolate Chip Halloween Cookies – 2 ways!
While I could easily wax poetic on my love of all things spider and skeleton for hours, I’m simply going to insist you join me in the kitchen to make this fun and frightful treat!
I’ve included some FAQ and tips below the recipe card if you need extra help and feel free to leave me a comment if you need any additional assistance. I’m always happy to help.
Let’s get our cookie on!

Halloween Cookies
Ingredients
- 3 cups all-purpose flour (380 grams)
- 1 TBSP corn starch
- 1 tsp baking soda
- 1 tsp fine sea salt
- 2 sticks unsalted butter (247 grams)
- ½ cup granulated sugar (100 grams)
- 1 ¼ cups light brown sugar (247 grams)
- 2 tsp vanilla extract
- 2 large eggs
- 1 ¾ cups mini semi-sweet chocolate chips or 2 cups regular
FOR DECORATING
- 10-16 oz milk chocolate melting wafers or extra if desired
- halloween nonpareil sprinkles
- chocolate jimmies sprinkles
- candy eyeballs
Instructions
PREP + MEASURE
- Set out 2 sticks of butter and 2 eggs to soften to room temperature. Soften butter just until you are able to leave a light indentation with your finger, but not so softened that it’s shiny/greasy/melted.
- For the flour and sugar, weigh each in grams grams with a kitchen scale for speedy and accurate results. No scale? Measure the flour via spoon and sweep method: Fluff the flour with a spoon then gently sprinkle spoonfuls into a dry measuring cup until a little over-full. Then use a butter knife to scrape the excess flour so its level with the top edge of the measuring cup. Packing the four into the cup or using the measuring cup to scoop itself full of flour will make the cookies dry/crumbly instead of tender and chewy.
- Measure out remaining ingredients.
- In a medium bowl combine flour, corn starch, baking soda, and salt. Mix with a metal whisk.
- In the bowl of an electric stand mixer, cream together butter with brown and granulated sugar for approx. 2 minutes until creamy.
- Add vanilla and eggs and beat for an additional 30-40 seconds.
- Gradually beat in flour mixture until just combined. Add chocolate chips and mix on lowest setting for just a few seconds to evenly distribute throughout the dough.
BAKE THE COOKIES
- Preheat oven to 350°F. Line large baking sheets with parchment paper.
- Use a large 3 TBSP cookie scoop to portion out dough.
- Arranged spaced on parchment paper (cookies will be approx. 3.5-4 inches) and bake (in batches) on the center rack for 11-13 minutes per batch or until edges are golden and the center of the cookie has begun to set.
- For the spider cookies, PRESS 2-3 CHOCOLATE WAFERS (flat side up) into each cookie while they're still on the warm baking sheet. The warmth of the cookies will slightly melt the wafers so you can then stick the sprinkle legs and candy eyeballs into each one to make a spooky spider. For extra oomph, add a pinch of halloween nonpareil sprinkles to each spider.
- Let cookies cool on the baking sheet for 5 minutes then transfer to a wire rack to finish cooling.
FOR THE CHOCOLATE DIPPED COOKIES
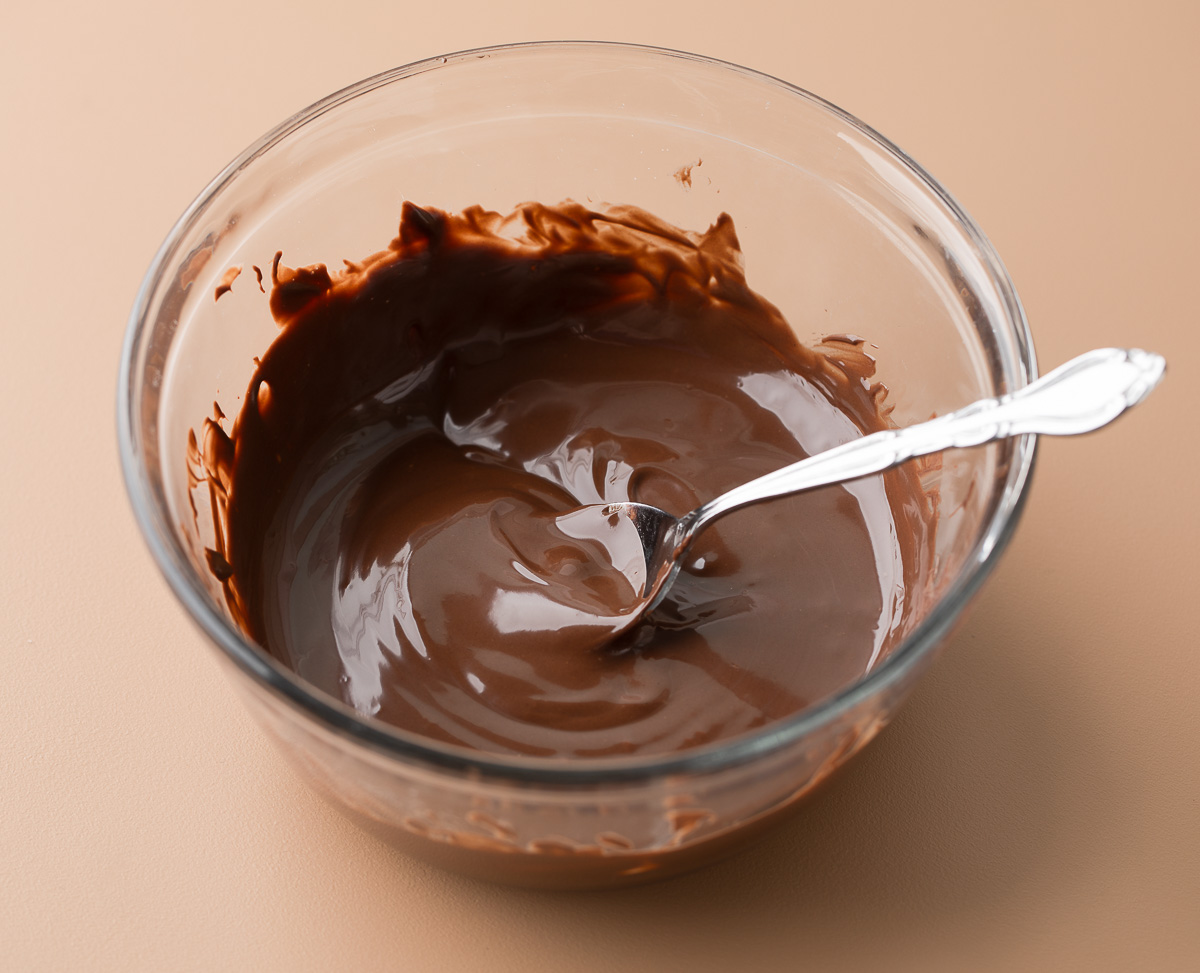
- Once cookies have fully cooled, melt remaining chocolate wafers in a microwave safe bowl on 50% power in 30 second increments, stirring between intervals until melted and smooth.
- Dip the top half of each cookie in chocolate then transfer to cooled, rimmed baking sheet and decorate with sprinkles right away while the chocolate is still wet. Allow to cool and set. You can pop them in a fridge for 10 minutes if you need them to set faster.
Notes
Nutrition


Q: Can I make these cookies in advance?
Yes! I almost always make my chocolate chip cookie dough in advance.
Place prepared dough on a large sheet of plastic wrap and wrap securely *OR* place in an airtight container with a lid. Refrigerate dough for 1-3 days until you’re read to get your bake on.
I find that the flavors and textures are amazing when I do this! When ready to bake, allow dough to soften on the counter for about an hour until scoopable.
Q: What kind of chocolate should I use?
I like to use a combination of regular semi-sweet chocolate chips and mini chocolate chips for the ultimate chocolate-to-cookie ratio. Chocolate chip cookies are beyond flexible so feel free to use all mini, all regular, or even chocolate chunks.
For the chocolate melts you can use milk chocolate like I did or opt for dark chocolate if preferred! The idea to use the melting wafers to make the base for the spiders came from Kyleigh at Barley and Sage.


Cookie Sizing
This easy peasy recipe makes approx. 30 large chocolate cookies made with 3 TBSP dough per cookie.
I like to use my trusty cookie scoop to portion the dough before rolling into balls.
The large OXO cookie scoop will portion exactly 3 TBSP of dough for 3.5-4 inch cookies. I typically use this scoop for my cookies since they’re a great size to dress up with decorations. They’re the size of my palm!
New to baking?
A small, inexpensive digital kitchen scale is an absolute game changer and will set you up for baking success! I use the scale to measure both the flour and sugar. If you’ve had repeated issues with cookies and other baked goods not turning out, a scale will revolutionize your baking game!
If you don’t have a scale, use the second most accurate method of measuring flour: the spoon and level technique. First fluff the flour with a spoon (this aerates the flour) then gently sprinkle spoonfuls into a dry measuring cup. Use a butter knife or bowl scraper to scrape the excess flour so its level with the top edge of the measuring cup. Packing the four into the cup or using the measuring cup to scoop itself full of flour will make the cookies dry/crumbly instead of tender and chewy.
The pan you bake on can also influence your cookie results. A dark pan can cause cookies to over-brown on the bottoms. I exclusively use a light pan (Nordic Naturals are the ones I always use) lined with parchment paper. This combo is super reliable and my cookies always come out amazing!

If you get a chance to try these sassy spider and sprinkle topped halloween cookies, let me know!
Leave me a comment here (LOVE checking those daily!) and tag photos with @PEASandCRAYONS on Instagram. I can’t wait to see your spooktacular creations!


Questions & Reviews
Easy and fun to make with my kiddos-plus, they taste amazing! 🤩 add this to your cookie recipe faves!